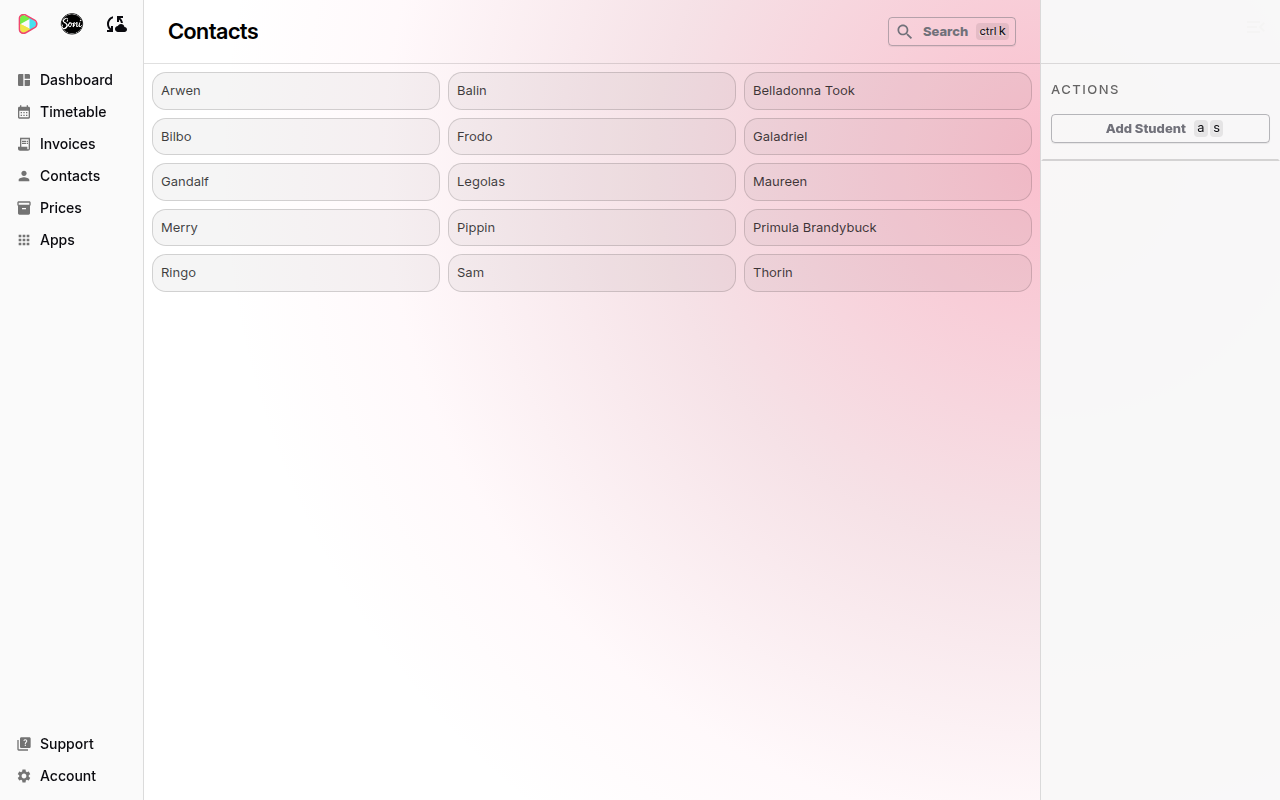
The Contacts page lists every contact in alphabetical order. Students, parents and carers all appear on it. Select a name to open that contact’s page.
Find a contact
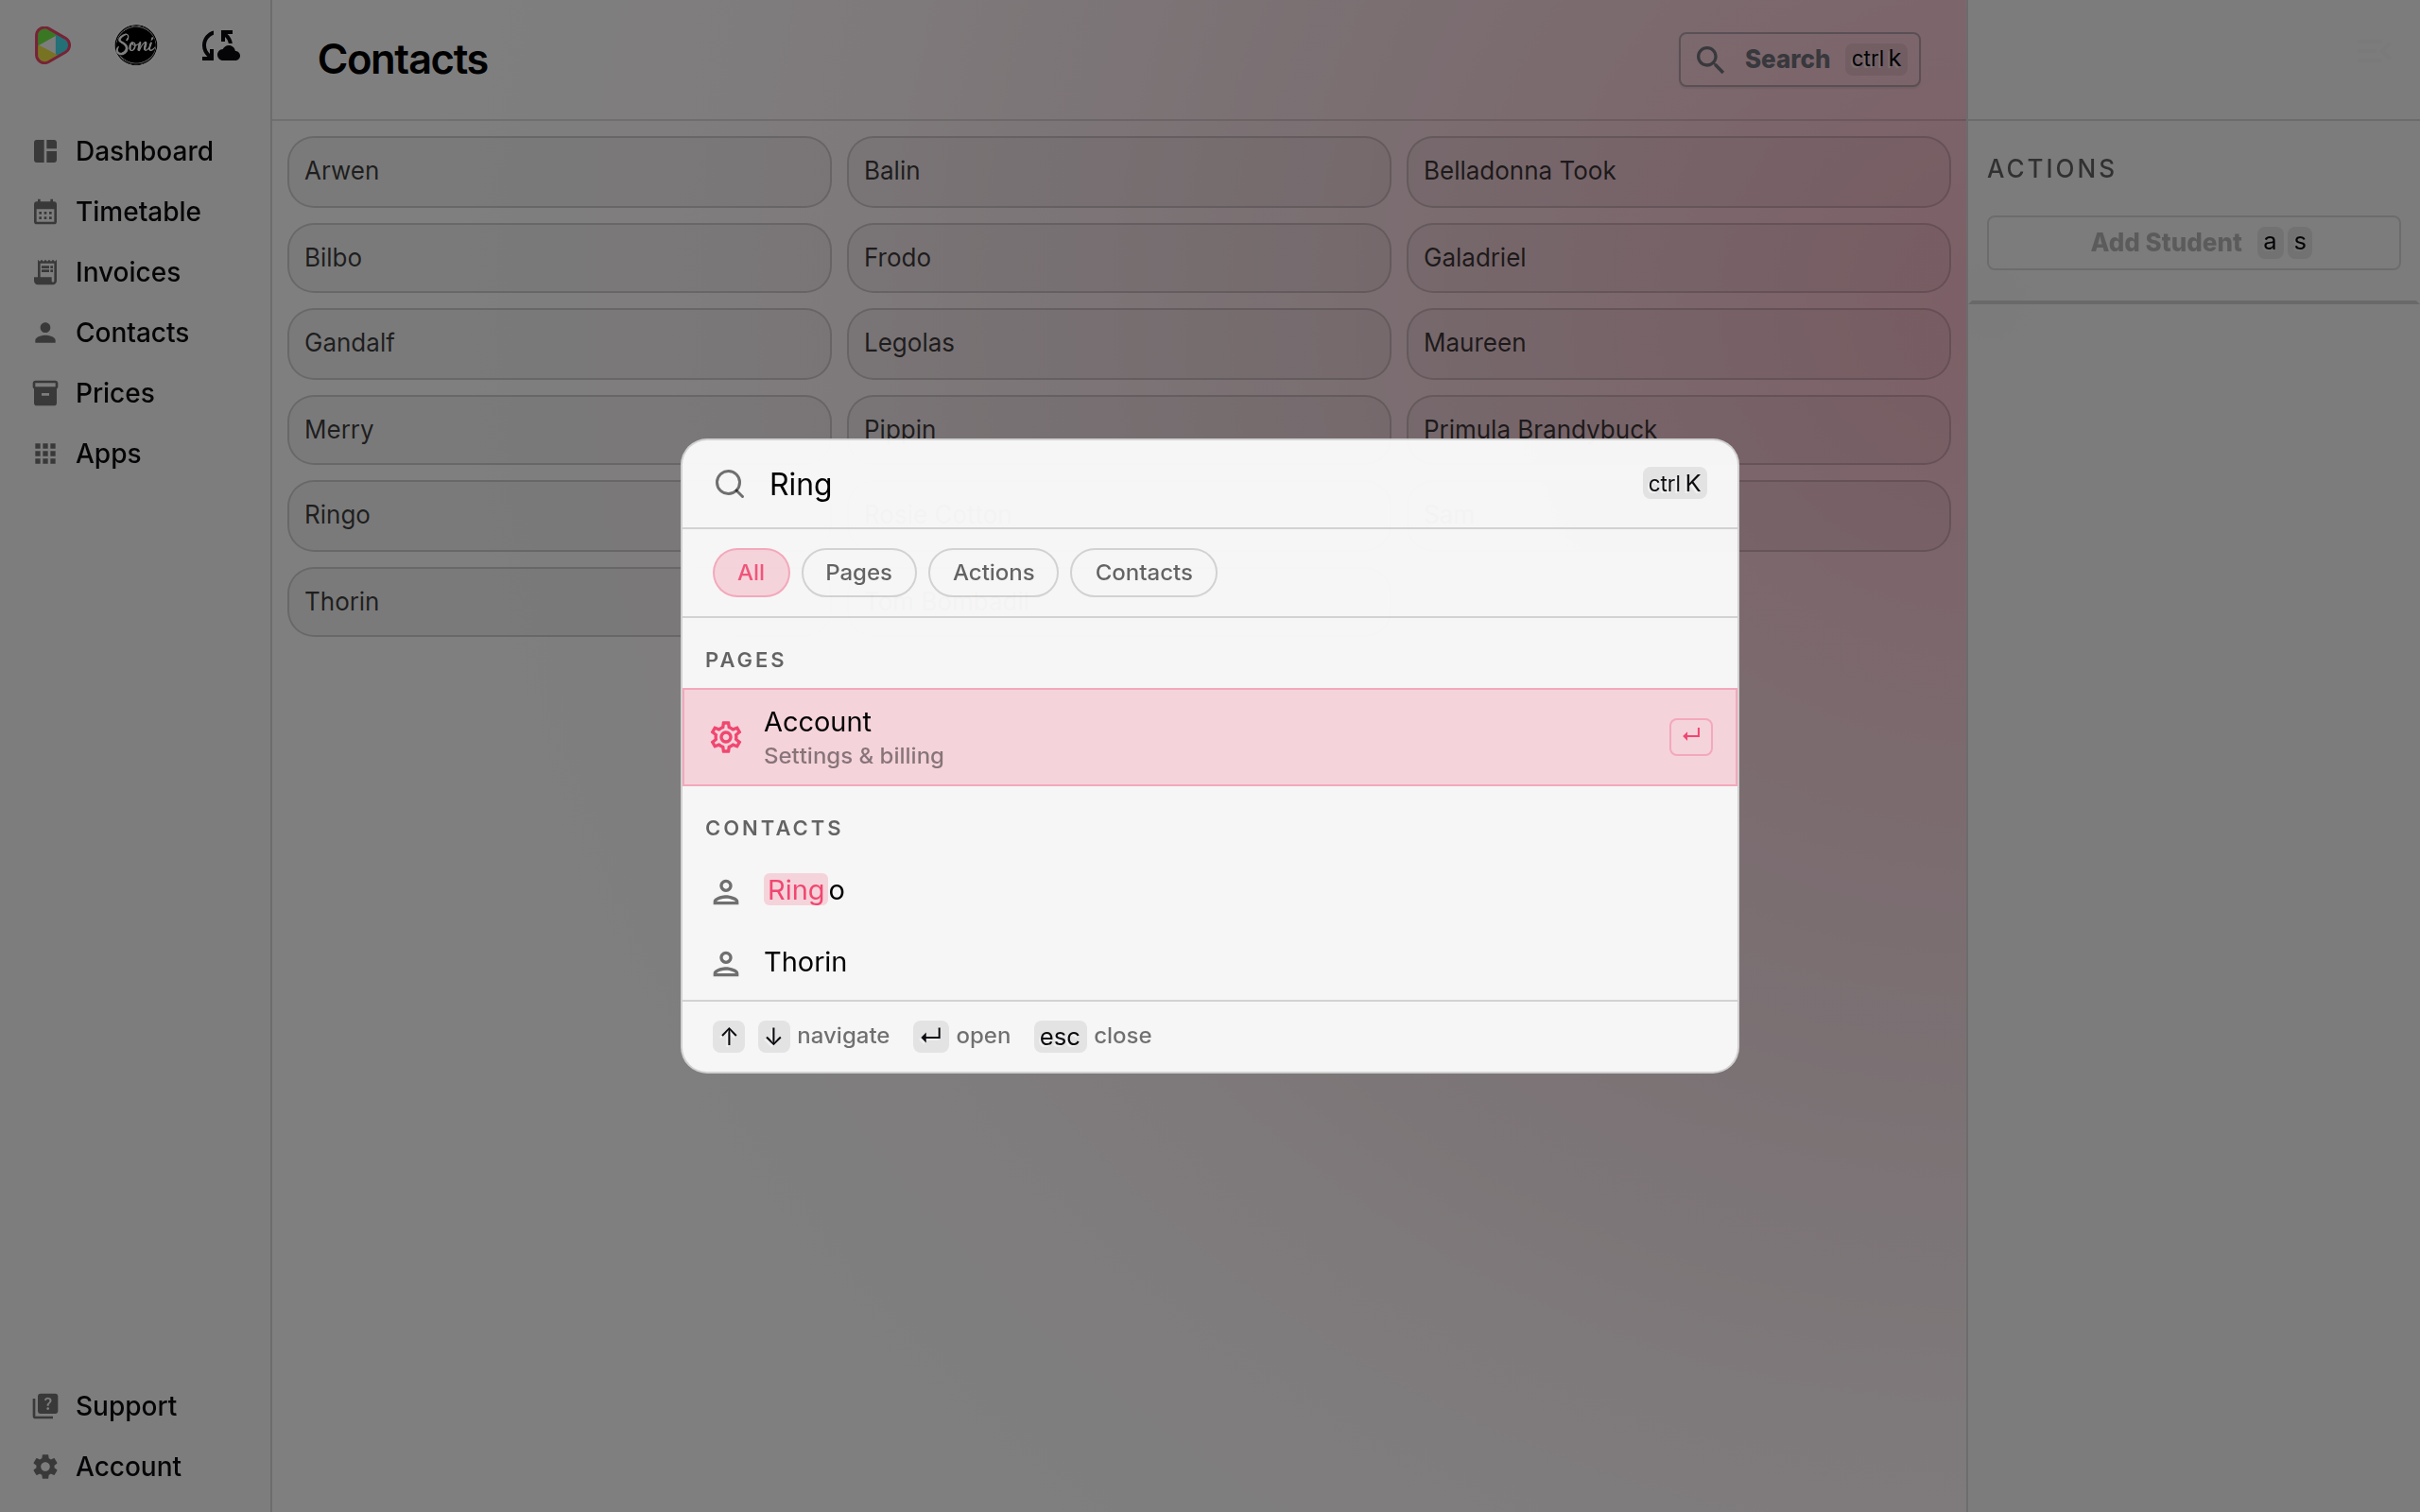
- Select Search at the top of any page, or press Ctrl + K (Cmd + K on a Mac).
- Type part of the name.
- Select Contacts to show contacts only, if the list is long.
- Select the contact, or press Enter.
Correct a name, email or lesson price
- Open the contact’s page.
- Change Full name, Email or Lesson price in the Details section.
- Select Update.
A new lesson price applies to invoices you create after the change. Invoices you already created keep their amounts.
Change who receives the invoices
- Open the student’s page.
- Select the pencil button next to Connections.
- Tick Send invoices to this contact on the person who now pays.
- Select Save.
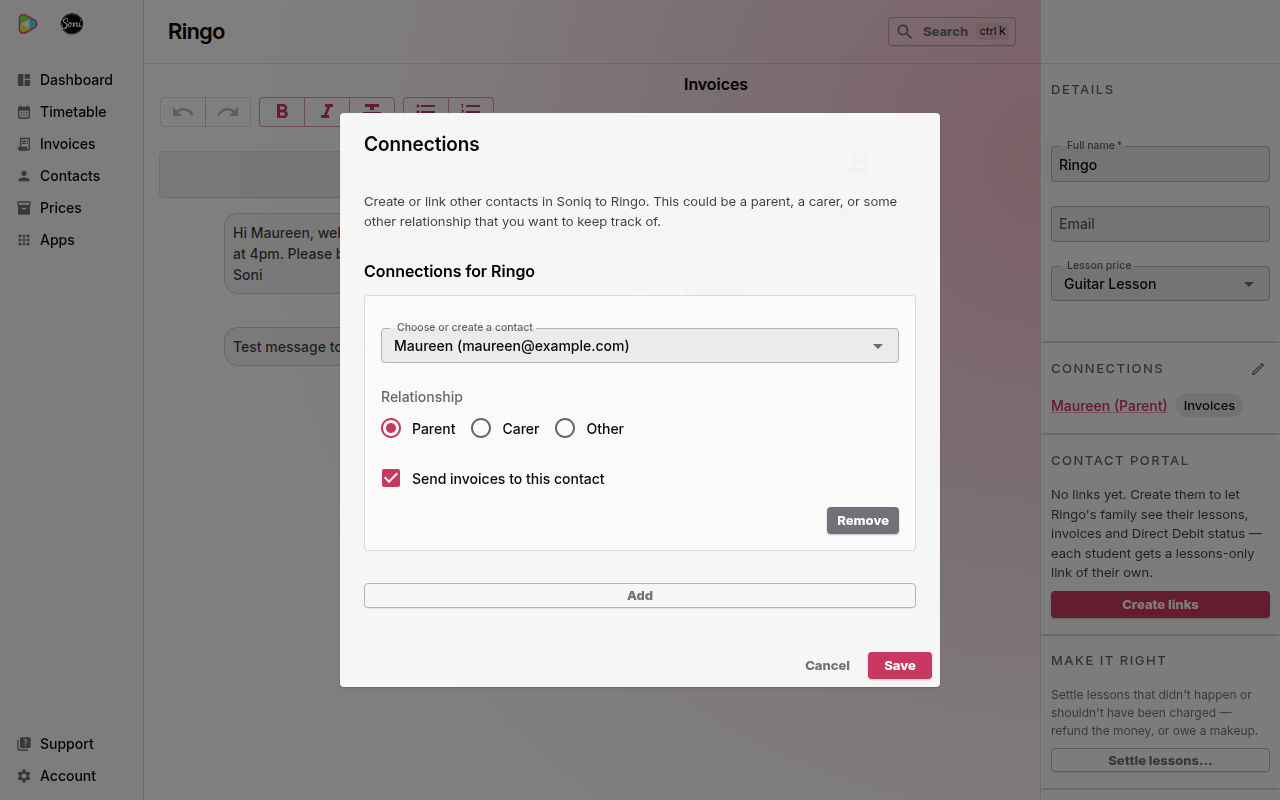
To send the invoices to the student again, untick the box on every connection, then select Save.
Remove a connection
- Open the student’s page.
- Select the pencil button next to Connections.
- Select Remove on the connection.
- Select Save.
Removing a connection removes the link only. The other contact stays on your Contacts page with their details and messages. If that contact received the invoices, the student’s invoices go to the student from now on.
Contacts you no longer teach
Soniq Studio has no button to delete or archive a contact. A contact you stop teaching stays on your Contacts page. Their invoices, payments and messages stay too, so your records stay complete.
To stop lessons and settle what is owed, follow How to end lessons with a student cleanly.
If a contact must be removed, email support@soniq.studio.